
How To Tie A Butchers Knot

It’s possible you’ve never taken much notice of them, but well-tied butcher’s knots are tremendously useful when it comes to presenting and cooking joints. They’re a version of a slipknot and they help to keep your joint neatly in shape as it cooks, holding the fat layer firmly in place for a mouth-watering crispy finish. And as they’re slipknots, they can be adjusted during cooking should you need to tighten them up.
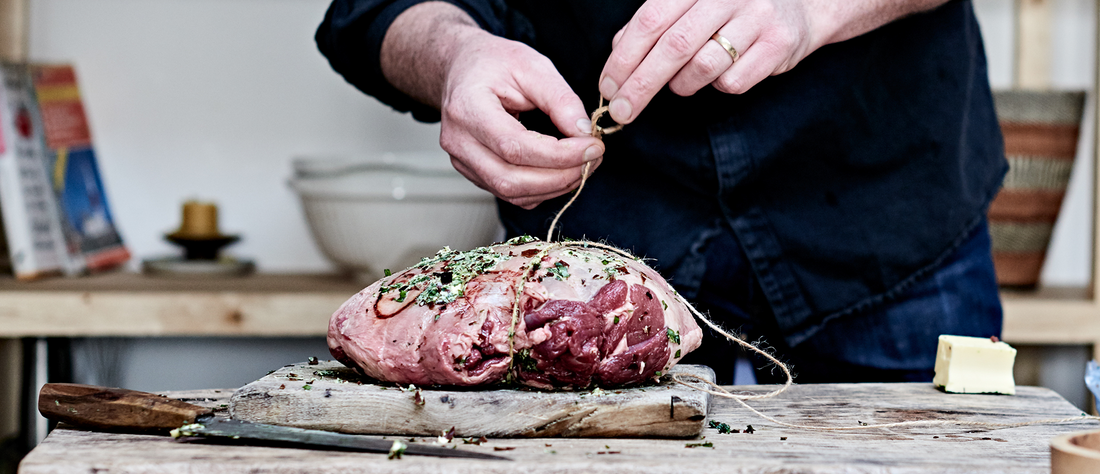
100% cotton twine is the best choice for tying up meat as it grips well and (most importantly) doesn’t melt or burn in the oven.
Quickly and efficiently tying butcher’s knots is quite an art and it can take a bit of practice. But follow these handy steps and give it a go: you’ll be a pro in no time.


Step 1: With your joint on a chopping board, run the twine underneath the meat, the cut end away from you and the spool end nearest to you. You should aim for an inch between each piece of string, so position your first piece an inch in from the end of the joint.
Step 2: Bring the cut end of the twine over the joint towards you.
Step 3: Place the top and bottom lengths of twine in your left hand, making sure the cut end is on the left and the other is on the right.
Step 4: Using your left forefinger and thumb pinch the twine, then take hold of the cut end with your right hand.
Step 5: Place the cut end over your left thumb, making sure it goes to the left away from the twine you have pinched between your finger and thumb.
Step 6: With your right hand, reach under your left hand and grab the cut end passing it underneath and back towards you. The cut end should now be facing the right, and you’ll see a loop has formed.
Step 7: Moving from right to left, thread the cut end of the twine through the loop from top to bottom. It should now look like a figure of eight.
Step 8: Pull both ends of the twine to tighten the knot. Then take hold of the end that’s still attached to the spool and pull it down towards you to tighten the twine around the joint. Repeat if it isn’t quite tight enough.
Step 9: Cut off the twine from the spool (you can tie the ends in a double knot if you want extra security) then trim the ends and continue to tie the rest of the joint


No comments


0 comments